


Is your laptop starting to feel sluggish or unresponsive? Over time, even the best machines can slow down due to software bloat, outdated settings, or aging hardware. Whether you’re working from home, streaming your favorite shows, or tackling complex projects, every second counts. If you’ve noticed your laptop lagging, you’re not alone; many users experience sluggish performance over time. The good news? You don’t always need a new device to enjoy better performance.
In this guide, we’ll explore step-by-step methods to help you speed up your laptop, ranging from easy software optimisations to more advanced hardware upgrades. Let’s get your device back to running smoothly and efficiently so you can focus on what matters.
Step-by-Step: How to Make a Laptop Faster
Each step offers practical actions you can take, from quick fixes to powerful upgrades, to speed up your laptop and improve performance.
1. Uninstall Unnecessary Programs
Many laptops come pre-installed with software you don’t need, or over time, you may have added programs you rarely use. These unnecessary programs can consume storage and sometimes run background processes that slow down your laptop.
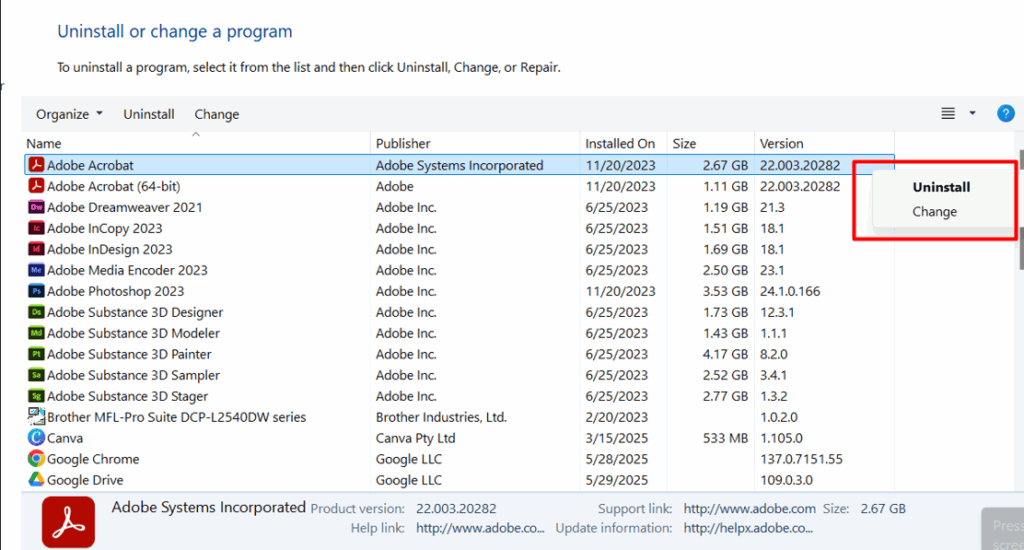
- To uninstall programs on a PC, follow the steps below:
- Open the Control Panel.
- Click on Programs and Features.
- Find the program you want to remove.
- Right-click on the program.
- Select Uninstall.
- Follow the instructions to complete the removal.
2. Disable start-up Programs in Windows
Many applications automatically launch when you start your laptop, running in the background and consuming valuable system resources. Disabling unnecessary startup programs can significantly reduce boot time and free up memory, making your laptop run faster and more efficiently.
- Steps to Disable Startup Your Computer
Open Task Manager
- Press Ctrl + Shift + Esc on your keyboard.
- Alternatively, right-click the taskbar and select Task Manager from the context menu.
Navigate to the Startup Tab
- In the Task Manager window, click on the Startup tab at the top.
- This tab displays a list of all programs that launch automatically when Windows starts.
Disable Unnecessary Programs
- Select any program you do not need to start automatically.
- Click the Disable button in the bottom-right corner, or right-click the program and choose the Disable option.
- Repeat this for any other unnecessary programs.
(Optional) Use Windows Settings (Windows 10/11)
- Press Windows + I to open Settings.
- Go to Apps > Startup.
- Toggle off any apps you do not want to launch at startup
3. Clean Up Your Hard Drive
Over time, your hard drive accumulates junk files—temporary files, system cache, old downloads, and application leftovers, that can consume valuable storage space and slow down your system. Cleaning up your hard drive not only frees up space but also helps your laptop run more efficiently.
Windows:
Follow these steps to run a disk cleanup scan in Windows 10/11
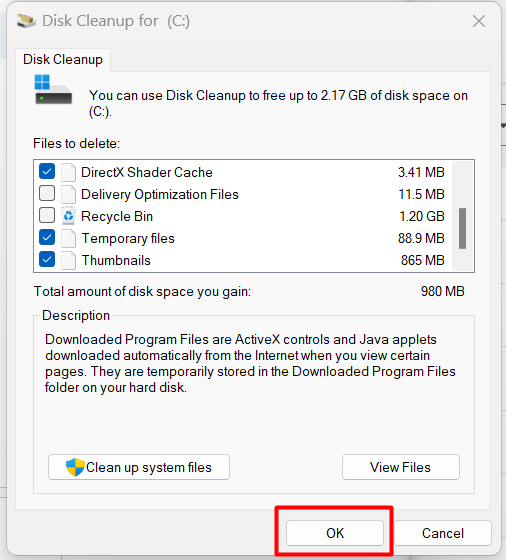
- Use the built-in Disk Cleanup tool.
- Press Windows + S and type Disk Cleanup.
- Select the drive you want to clean (usually C)
- Check file types like Temporary files, Recycle Bin, and System-created Windows Error Reporting.
- Click OK to delete them.
According to Microsoft, Disk Cleanup can free up several gigabytes of space, especially after major Windows updates.
For deeper cleaning, you can use tools like:
- Storage Sense (Settings > System > Storage): Automatically deletes temporary files.
- CCleaner: A third-party tool that helps clean browser cache, unused registry entries, and more.
macOS:
- Click the Apple menu> About This Mac> Storage> Manage.
- Use recommendations like Empty Trash Automatically, Reduce Clutter, and Optimize Storage.
Apple MacBook’s built-in storage management tools in macOS are designed to help reclaim significant disk space with minimal effort. These features automatically scan your system for large and unnecessary files such as old mail attachments, watched iTunes, or Apple TV Movies, and temporary system files.
4. Find Out If You Need More Storage in Your Laptop
If your laptop feels slow, shows frequent low storage warnings, or you’re always deleting files to make space, you likely need more storage. Over time, apps, system updates, and personal files can fill up your drive faster than expected.
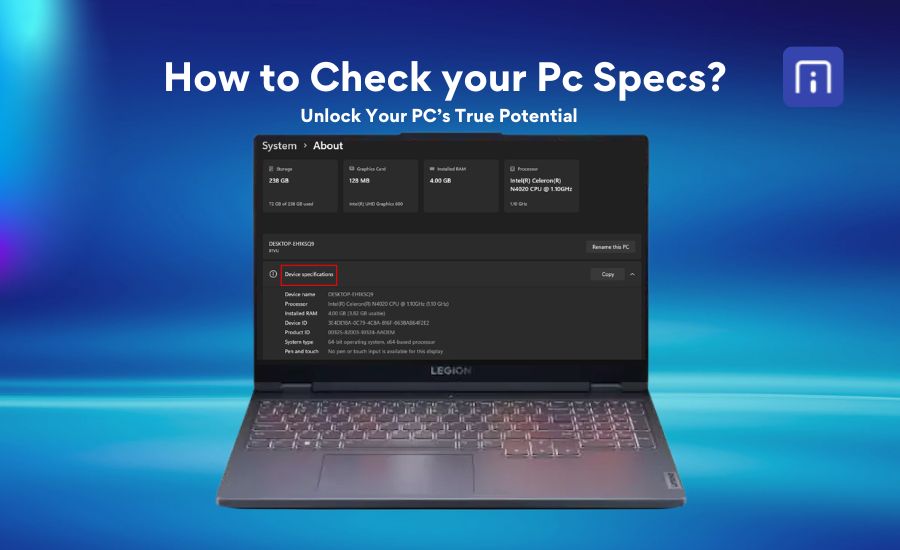
How to Check Your Storage
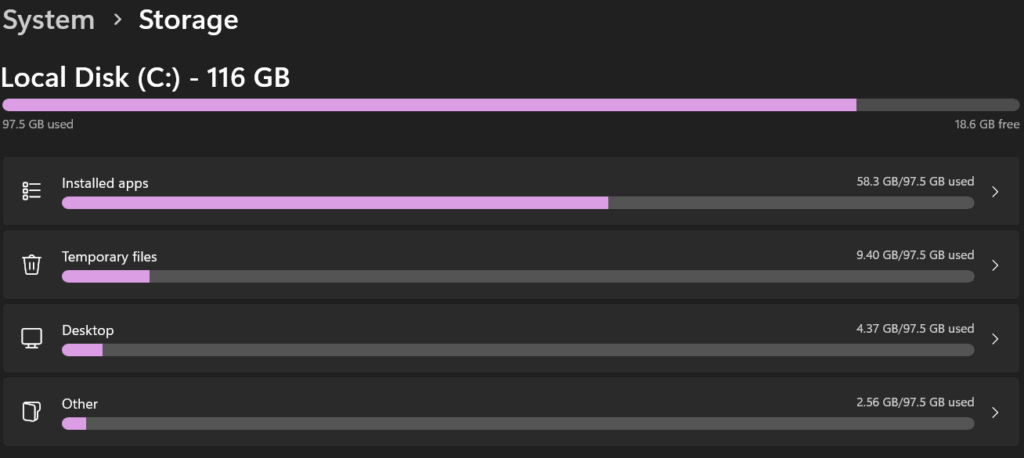
On Windows, go to Settings > System > Storage to see how much space you’re using. If your drive is over 80% full, your laptop may struggle to perform efficiently.
Common Signs You Need More Space
- Low storage alerts appear frequently
- Your laptop takes longer to start or run programs
- You can’t install new apps without removing old ones
- You’re working with large files (videos, games, or creative software)
Recommended Storage Sizes
- Basic Use: 256GB SSD is usually enough
- Students/Office Use: 512GB SSD offers better flexibility
- Gaming/Creative Work: 1TB SSD or more is ideal
Easy Solutions
- Use cloud services like Google Drive or OneDrive
- Add an external SSD or HDD for extra space
- Upgrade your internal SSD if your laptop allows it
Final Note
Running out of storage slows down your laptop and affects productivity. Check your usage regularly and consider an upgrade if you’re running short.
5. Signs Your Laptop Needs More Memory
If your laptop often feels slow, especially when switching between multiple applications or browser tabs, it might be a sign that you’re running low on RAM (Random Access Memory). Other common symptoms include frequent freezing, long startup times, and applications crashing unexpectedly.
How to Fix It:
Check your current RAM usage:
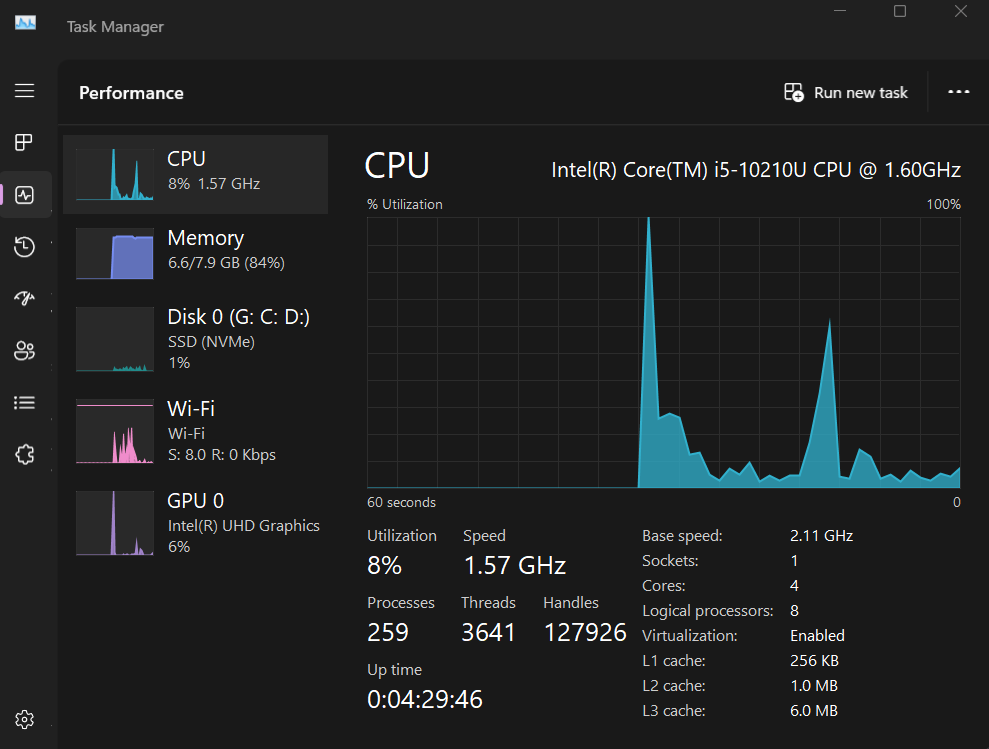
- On Windows: Press Ctrl + Shift + Esc to open Task Manager> go to the Performance tab.
- On macOS: Open Activity Monitor> check the Memory tab.
Upgrade your RAM (if supported by your laptop)
- Check your laptop model’s RAM upgrade compatibility (max supported RAM, type – e.g., DDR4 or DDR5).
- Purchase compatible RAM and install it yourself or get help from a technician.
- Many modern laptops support up to 16GB or 32GB of RAM.
Optimize memory usage (if upgrading is not an option)
- Disable unnecessary startup programs.
- Close unused apps and browser tabs running in the background.
- Use lighter versions of software or web apps when possible.
6. Keeping OS and drivers updated
Regularly updating your operating system (OS) and device drivers is critical for security, performance, and compatibility. Updates often contain patches for vulnerabilities, bug fixes, and enhancements that improve your system’s stability and features.
How to Keep Your OS Updated:
Windows:
- Go to Settings > Update & Security > Windows Update and click Check for updates.
- Enable automatic updates to ensure you receive critical patches promptly.
macOS:
- Open System Settings > General > Software Update and install available updates.
Linux:
- Use your package manager (e.g., sudo apt update && sudo apt upgrade on Ubuntu/Debian).
- Enable automatic updates if available.
7. Lightweight Antivirus Software to Keep Your Laptop Fast and Secure
Antivirus software is essential for safeguarding your laptop against malware, ransomware, phishing, and zero-day threats. However, many antivirus programs are known for being resource-heavy, slowing down your system and affecting performance, especially on budget or older laptops. That’s why lightweight antivirus software is the way to go.
Here are lightweight antivirus programs that offer solid protection without compromising your laptop’s speed or battery life.
- Bitdefender Antivirus Free for Windows
Bitdefender Free offers essential protection with real-time threat detection and anti-phishing capabilities. It runs quietly in the background, perfect for low-end laptops.
- System Impact: Very low
- Installer Size: ~11 MB
- RAM Usage (Idle): ~70 MB
- Best For: Real-time protection with minimal bloat
- Free/Paid: Free
- Kaspersky Security Cloud – Free
Kaspersky’s cloud-based free antivirus provides excellent malware protection, real-time scanning, and a secure VPN (200 MB/day). It’s lightweight, easy to use, and updated regularly.
- System Impact: Low
- Installer Size: ~2.5 MB (downloads ~150 MB after install)
- RAM Usage (Idle): ~80 MB
- Best For: Balanced protection with a simple UI
- Free/Paid: Free (Cloud-based)
8. Reinstalling OS
Reinstalling your OS can fix performance issues, malware infections, or corrupted system files. It gives your laptop a clean slate and often improves speed and stability.
Windows:
Steps:
- Go to Settings> Update & Security> Recovery
- Under “Reset this PC“, click “Get started“
Choose:
- Keep my files – Keeps personal files, removes apps and settings
- Remove everything – Full reinstall
Follow the on-screen instructions
Wait for the process to complete (takes 30–60 mins), and your system will restart multiple times and return to factory state.
Note: Always remember to back up your data, save your important files to an external drive or cloud storage.
macOs:
- Back up your data: Use Time Machine or another backup method to save your important files.
- Start up in macOS Recovery:
- Apple Silicon Macs: Shut down, then press and hold the power button until you see options. See options and continue.
- Intel Macs: Restart and immediately ( hold Command + R) for the current macOS. Option-Command-R for the latest compatible, or Option-Shift-Command-R for the original macOS.
- Reinstall macOS:
In Recovery, select < Reinstall macOS>, Click continue, and follow the onscreen instructions.
- If prompted, select your startup disk (usually “Macintosh HD”).
- Allow the installation to complete. Your mac may restart several times.
- Complete setup:
- Follow the setup assistant after installation finishes.
9. Optimize your web browser
Your web browser is one of the most-used applications on your laptop. Whether you’re streaming, shopping, working, or studying, a slow or bloated browser can ruin the experience. The good news? With a few smart tweaks, you can make your browser faster, more secure, and less resource-hungry.
Here are the ways to optimize your web browser for the best performance.
- Clear Cache and Cookies Regularly
- Over time, cached data and cookies pile up, slowing performance.
In Chrome:
- Go to Settings > Privacy > Clear Browsing Data
- Choose Cached images/files and Cookies, then click Clear data. Frequency: Once every 2–3 weeks.
- Disable or Remove Unnecessary Extensions
Too many extensions slow down startup and use more RAM.
- Go to chrome://extensions and remove what you don’t use.
- Enable Hardware Acceleration
- Uses your GPU for smoother graphics and video playback.
- Settings > System > Enable hardware acceleration (toggle ON)
5. Disable Background Tabs/Processes
- Some browsers let you freeze inactive tabs.
Chrome (via flags):
- Visit chrome://flags > Enable “Throttle expensive background timers”
This limits JavaScript activity in background tabs = less CPU usage